January 03, 2014

Zippered Pillow

By Leah Morrow


This is a quick tutorial to show you how easy it is to make a simple, gorgeous pillow with an invisible zip! 


First thing is to cut out the fabric. a good rule of thumb is to cut your fabric the same size as your pillow form, that way it stays full and fluffy. Use 1/2" seam allowance and get a zipper as long as (or longer, you can trim) than one side of your pillow.


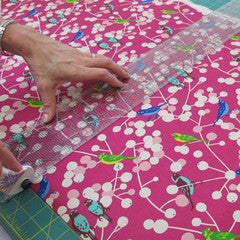
I am making a 20" x 20" pillow, so I cut two pieces 20" x 20".   I trimmed off the selvedges, sometimes the selvedge is woven a bit tighter than the rest of the fabric and can cause you to end up with different size pieces once you start sewing.


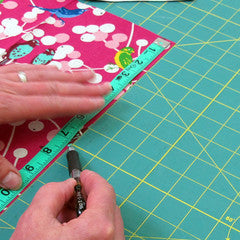
Here is a trick that the pros use: trim a scant 1/2" away, tapering towards the corners. This makes the corners pop out perfectly! First measure and mark, then cut.


This is what it looks like before you begin to sew.


First lets do the zip. I have directional fabric (the pattern has a distinct up and down) so I will put the zipper at the bottom of the pillow. The important thing to remember about invisible zippers is that they go on with the pull tab facing the fabric. The teeth face toward the body of the pillow, not the edge. Lay it on one piece fabric and with the top of the zipper lining up with the top of the pillow corner.


Now sew the other side of the zipper, pay attention to how it is placed along the edge.
Match the top of the zipper tape to the edge of the fabric and make sure the teeth are facing the the right direction


Put the two sides together and sew it up! Use a 1/2" seam allowance, just follow the edge of your fabric as a guide


Pivot at the corners! 


When you get to the zipper, just lay it flat and sew right over it, on both sides.
Don't forget to leave it open a little so you can get it turned inside out again.


Trim the corners, it will make the edges pop right into place without added bulk.


Beautiful!